
Aalto University - ARTS 3D Printing
Converting your file into a code
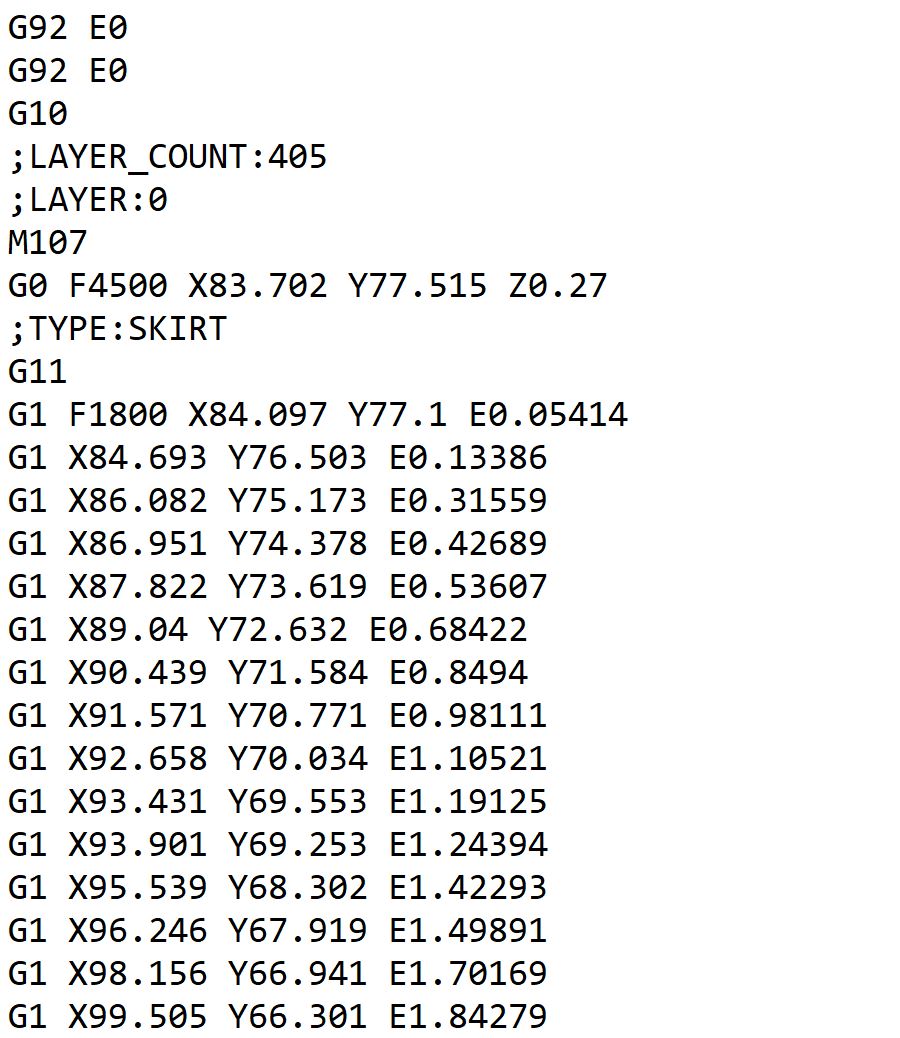
Before
printing, a mesh file needs to be translated into a language that the 3D
printing machine can understand. In computer controlled automated machines this
is called a G-Code. This code contains a series of numerical operation commands
that tell a machine the paths that the extruder or the laser should follow.
Depending of the type of machine used, it will also include the amount of
material extruded and the temperature of the extruder nozzle and the platform,
among others. A typical G-Code will look like this:
With experience, you will be able to go into the code and modify it to your own requirements. HERE (external link) it is a useful article explaining in depth the G-Code.
So, how is it possible to create this code? Thought inputting the exported STL file into a slicer software that creates it. Slicers will divide the object in a series of stacked layers
Slicers designed for material extrusion (FDM or FFF) will allow you to modify the following features from your printing file:
- Infill
- Supports
- Adhesion layers
In addition, slicers have more advanced options where you can modify the printing quality (layer height), temperature, speed, sequence, seam location, and even special features like only printing the outer contour of the piece in a spiral-like motion.
Nowadays, there are many different open-source and free slicers. Certain machines at the workshop use a specific slicer provided by their manufacturing company. Most of the machines at the workshop use a slicer called Ultimaker Cura, developed by the Ultimaker manufacturer. You can download this free software in your own computer from this link:
ULTIMAKER CURA (external link)
How to setup the slicer and slice a file:
Note: all workshop printers are non-networked. You will need to save the sliced file in the SD card or USB drive available on each of the printers.
How to use the custom/advanced mode in Cura: